
A mechanical keyboard can collect more than crumbs: dust, skin oils, pet hair, and spilled residue settle around the switches and under the keycaps. Clean it carelessly, though, and you can push debris farther into the switch housings, scratch legends, loosen stabilizers, or introduce moisture where it does not belong. The good news is that routine cleaning does not require removing keycaps. With the right tools and a light touch, you can freshen a compact or full-size wired keyboard in about 15 to 25 minutes.
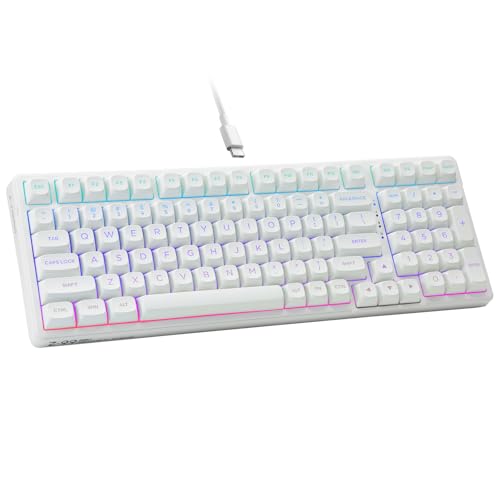
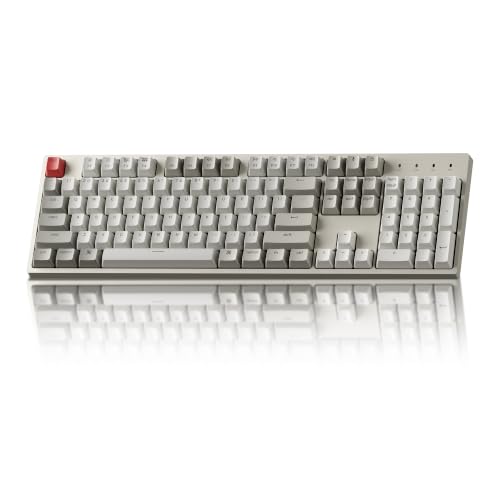
This method works for most mechanical keyboards, including budget RGB models such as the $45 HUO JI E-Yooso Creamy and full-size boards such as the roughly $57 Keychron C2. It is especially useful when you want to clean between keys without disturbing switch parts or keycap layouts.
As an Amazon Associate we earn from qualifying purchases at no extra cost to you.

Our Top Picks
What You Need
| Item | Why | Optional? |
|---|---|---|
| Microfiber cloth, 10 x 10 inches or larger | Lifts fingerprints, dust, and oils without leaving lint behind. | No |
| Soft detailing brush or clean makeup brush | Loosens dust and hair from the spaces around keycaps and switches. | No |
| Compressed-air can or electric air duster | Blows loose debris out from between keys. Use short bursts only. | Yes |
| 70% isopropyl alcohol | Removes skin oils and light grime while evaporating quickly. | Yes |
| Cotton swabs | Useful for narrow edges, stabilizer areas, and stubborn spots. | Yes |
| Handheld vacuum with a brush attachment | Collects loosened debris without spreading it across the desk. | Yes |
| Plastic pick or wooden toothpick | Helps lift visible debris from gaps without prying off keycaps. | Yes |
Avoid household cleaners, window spray, bleach, acetone, and soaking-wet wipes. If you use an electric air duster, choose one with adjustable airflow rather than a high-powered blower intended for workshop cleanup.
Step-by-Step
-
1. Shut down and unplug the keyboard (2 minutes)
Turn off your computer or lock it, then disconnect the keyboard cable. If your keyboard has a detachable USB-C cable, remove it from both the keyboard and computer. For a wireless mechanical keyboard, switch it off and remove or disconnect the battery only if the manufacturer’s instructions specifically allow it.
Unplugging prevents accidental keystrokes and reduces the risk of damage if moisture reaches the keyboard. Move the board to a clean, well-lit table. A light-colored towel beneath it makes dark crumbs and hair easier to see.
-
2. Turn it upside down and release loose debris (2 to 3 minutes)
Hold the keyboard upside down at a slight angle, about 45 degrees, over a trash can or towel. Gently tap the back and sides with your palm. Do not slam the keyboard onto the table; mechanical switches and stabilizers are durable, but repeated hard impacts can cause problems.
Rotate the keyboard so crumbs can fall from several directions. On a full-size layout, pay extra attention to the spacebar, Enter, Backspace, and arrow-key area, where debris often gathers.
-
3. Brush between the keycaps (4 to 6 minutes)
Set the keyboard flat again. Use a soft brush to sweep through the rows, working from the top row down. Angle the bristles into the narrow channels between keycaps rather than pressing straight down into the switches.
Use short, controlled strokes. Brush debris toward the edge of the keyboard, then lift it away with a vacuum brush attachment or blow it clear with air. A clean, soft makeup brush works well because its bristles can reach into gaps without scratching plastic keycaps.
-
4. Use compressed air carefully (2 to 4 minutes)
Hold the keyboard at a 45- to 75-degree angle and use short bursts of air, each about one second long. Keep the nozzle 2 to 4 inches from the keycaps. Sweep across the rows instead of concentrating on one switch for too long.
If you are using a canned air product, keep the can upright. Tilting or shaking it can release cold liquid propellant, which may leave residue or temporarily chill plastic parts. Let any accidental moisture evaporate completely before reconnecting the keyboard.
-
5. Wipe the keycap tops and keyboard frame (4 to 5 minutes)
Fold a dry microfiber cloth into quarters and wipe the keycap tops, sides you can reach, and the keyboard case. For everyday grime, a dry cloth may be enough. For oily shine around commonly used keys, lightly dampen one corner of the cloth with 70% isopropyl alcohol.
The cloth should feel barely damp, never wet. Wring out or blot excess liquid before it touches the keyboard. Wipe each area with the damp section, then immediately buff it dry with a clean section of microfiber.
-
6. Detail stubborn spots with a swab (3 to 5 minutes)
Moisten a cotton swab with a few drops of 70% isopropyl alcohol. Roll it along the edges of the spacebar, Shift keys, Enter key, and around the keyboard frame. Use gentle pressure and replace the swab when it becomes visibly dirty.
For a crumb lodged near a keycap edge, use a plastic pick or wooden toothpick to tease it out. Keep the tool parallel to the keyboard surface. Do not lever upward under the keycap, since that can pop it off or strain stabilizer wires.
-
7. Air-dry and test the keyboard (5 to 10 minutes)
Leave the keyboard unplugged until all cleaned areas are fully dry. In a normally conditioned room, a lightly alcohol-dampened cloth should dry quickly, but waiting at least 10 minutes is sensible. Reconnect the cable and test a few keys in every area, including the spacebar, modifiers, number row, and arrow cluster.
If a key feels sticky after cleaning, do not add lubricant or spray cleaner into the switch. Repeat the dry brushing step first. Persistent sticking may indicate an older spill beneath the keycap or inside the switch.
Mistakes to Avoid
- Spraying cleaner directly on the keyboard: Liquid can run beneath keycaps and reach the circuit board. Apply alcohol to a cloth or swab instead.
- Using a powerful vacuum nozzle directly on keys: Strong suction can pull at loose keycaps or stabilizers. Use a brush attachment and keep it moving.
- Blowing debris deeper into the board: Always angle air and brush strokes toward an outer edge rather than straight down.
- Using paper towels: They can shed fibers and may leave fine scratches on glossy keycaps or cases.
- Cleaning while the keyboard is powered: Even a small amount of moisture is safer when the device is unplugged.
- Forcing a stuck key: Repeated hard presses can worsen a contaminated switch or damage a stabilizer.
How Often
For a keyboard used daily in a home office, do a quick upside-down shake and microfiber wipe once a week. Brush between the keys every 1 to 2 months. Perform the full no-keycap-removal cleaning routine every 3 to 4 months.
Clean more often if you eat at your desk, have shedding pets, use hand lotion, or share the keyboard. In 2026, many desktop setups still include full-size keyboards with deep switch wells, which can trap visible debris faster than low-profile laptop keys.
When to Call a Pro or Replace
Consider professional electronics cleaning if the keyboard suffered a sugary drink, coffee with milk, soup, or another sticky spill and several keys now misfire. Internal residue can corrode contacts over time, and surface cleaning will not solve it.
Replacement may be more practical when multiple switches chatter, LEDs flicker after liquid exposure, the USB port disconnects intermittently, or the board has visible corrosion. For a basic wired mechanical keyboard in the $45 to $60 range, repair labor can cost more than a replacement. Higher-end custom, vintage, or specialty boards may be worth professional service instead.
FAQ
Can I clean a mechanical keyboard without removing keycaps?
Yes. Routine dust, hair, crumbs, and surface oils can be removed with a soft brush, short bursts of air, a microfiber cloth, and lightly applied 70% isopropyl alcohol. Keycap removal is mainly needed for deep cleaning after heavy buildup or spills.
Is compressed air safe for mechanical keyboards?
It is safe when used in short bursts from 2 to 4 inches away. Keep canned air upright and avoid prolonged blasting into a single switch. An electric air duster on a low setting is another option.
Can I use disinfecting wipes on keycaps?
Only if the wipe is not dripping wet and does not contain bleach or harsh solvents. A microfiber cloth lightly dampened with 70% isopropyl alcohol is usually the safer choice. Test an inconspicuous edge first if your keycaps have special printing or a coated finish.
Why does a key still feel sticky after cleaning?
Sticky movement often means residue is beneath the keycap or inside the switch housing, especially after a spill. Surface cleaning may improve it, but a persistent problem can require keycap removal, switch service, or professional cleaning.









