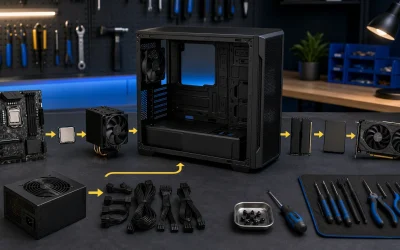
Thermal paste fills microscopic gaps between a processor and its cooler. The goal is not to create a thick insulating layer; it is to leave a thin, continuous interface after mounting pressure spreads the compound. For most desktop CPUs, one small dot in the center is the most repeatable starting point.
Top 3 picks at a glance
What you need
These are the supplies the steps above call for, including pastes that stay workable long enough for a first-time application.
As an Amazon Associate we earn from qualifying purchases at no extra cost to you. Product prices and availability are accurate as of the date shown and are subject to change.


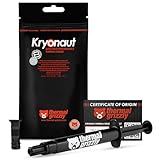



- Thermal paste intended for CPU cooling
- High-purity isopropyl alcohol and a lint-free cloth
- The correct screwdriver and cooler mounting hardware
- Good lighting and an antistatic work surface
Shut the PC down, switch off the power supply, unplug it, and allow hot components to cool. If the cooler was recently used, gently twist it before lifting. Pulling a cooler straight up can lift some socketed processors with it.
Clean the CPU and cooler
Old compound, dust, protective film, and fingerprints can produce uneven contact. Wipe away the bulk of the old paste, then use a small amount of isopropyl alcohol on a lint-free cloth. Clean both the CPU heat spreader and the cooler contact plate. Wait until both surfaces are dry.
Inspect the cooler base before continuing. A clear plastic shipping film is easy to overlook and must be removed. Also confirm that the mounting brackets match the motherboard socket and that the backplate has not shifted.
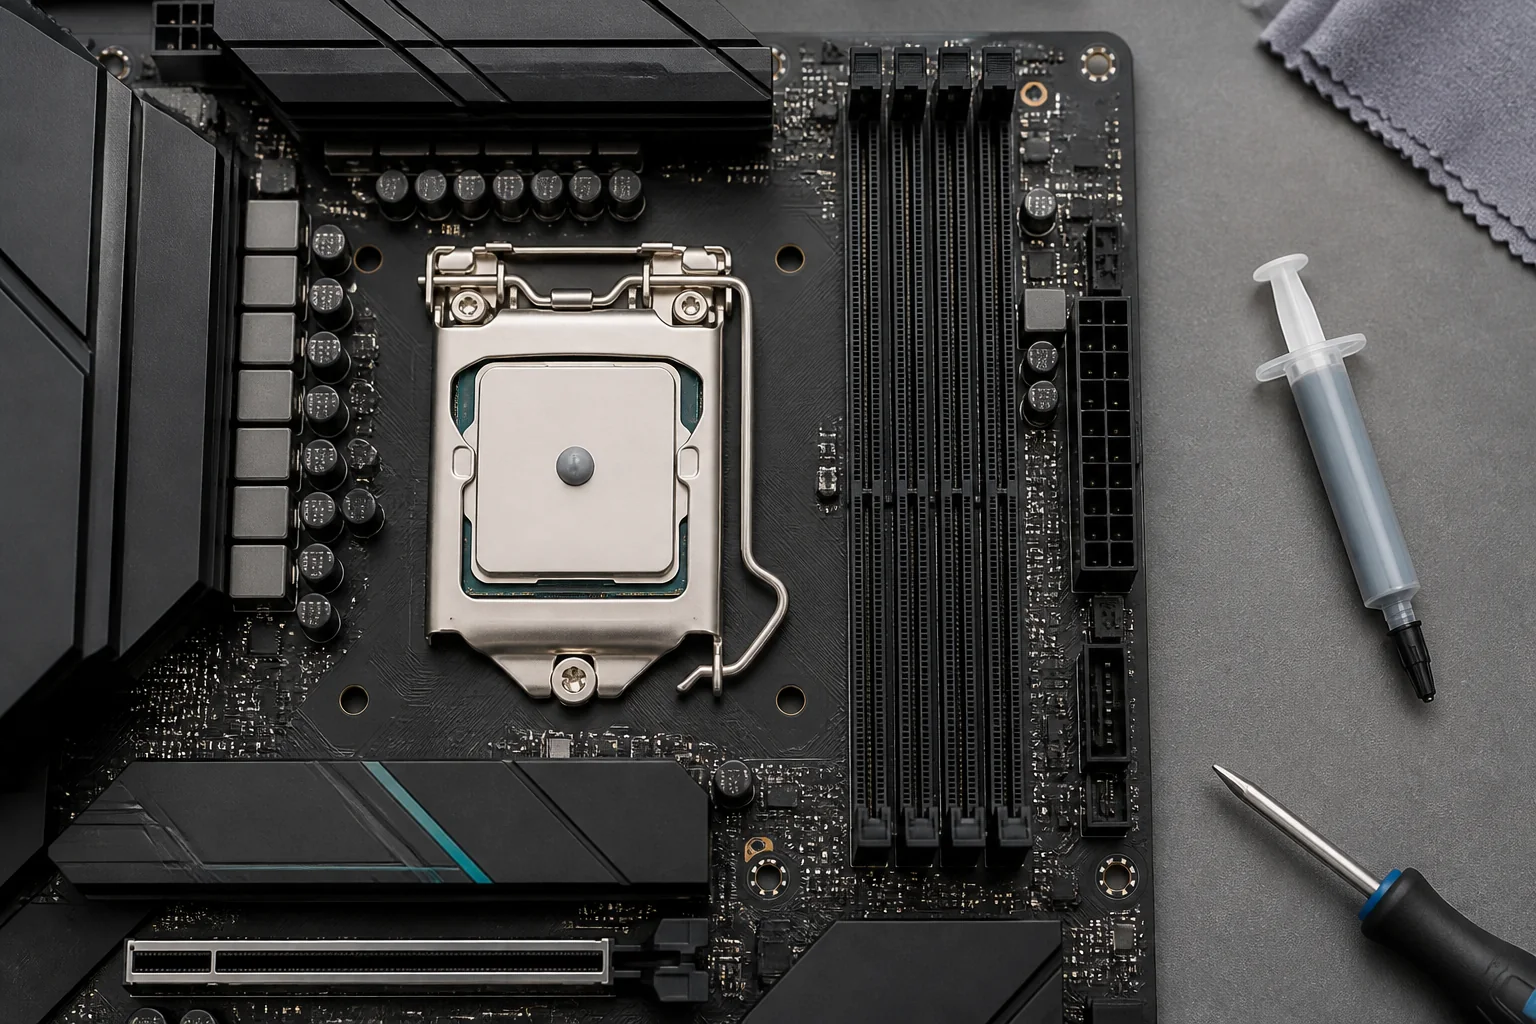
Apply the correct amount
Place a dot roughly the size of a small pea in the center of a mainstream desktop CPU. Larger heat spreaders may benefit from a short line or the pattern recommended by the cooler or paste manufacturer. More paste does not automatically improve cooling. Too much can squeeze around the socket, make future cleanup difficult, and hide an uneven mount.
Do not spread the paste with a bare finger. Skin oil and trapped air can interfere with contact. If a manufacturer specifically recommends manual spreading, use the supplied applicator and follow its instructions.
Install the cooler evenly
Lower the cooler vertically onto the CPU without sliding it around. Start every mounting screw before fully tightening any one screw. Tighten in a diagonal pattern, alternating sides a few turns at a time. This keeps pressure balanced and reduces the chance of pushing most of the paste toward one edge.
Connect the cooler fan or pump to the header specified by the motherboard manual. A tower cooler normally uses the CPU_FAN header. An all-in-one liquid cooler may use separate pump and radiator-fan headers.
Check temperatures after installation
Enter the BIOS or a trusted hardware monitor after the first boot. Confirm that the fan or pump is detected and that idle temperature is stable. Then run a short, controlled CPU workload while watching temperature, clock speed, and fan behavior.
Temperature varies by processor, cooler, room temperature, power limits, and case airflow, so there is no universal “perfect” number. Stop the test if temperature rises immediately to the processor limit, the system shuts down, or the cooler reports no fan or pump speed. Those symptoms point to mounting, power, or protective-film problems rather than a need for more paste.
Common application mistakes
Using too much compound
A thick layer increases mess without fixing poor mounting pressure. Clean both surfaces and start again with a smaller amount if paste floods well beyond the heat spreader.
Reusing disturbed paste
If the cooler is lifted after contact, air pockets and uneven ridges can remain. Clean and reapply instead of pressing the cooler back onto disturbed compound.
Ignoring the cooler mount
High temperature is often caused by loose hardware, the wrong standoffs, an offset backplate, or a forgotten film. Paste cannot compensate for a mechanical gap.
Using electrically conductive material without experience
Some specialist compounds can damage components if they reach contacts. Mainstream non-conductive paste is the safer choice for a first build. Liquid metal requires a compatible cooler surface and careful insulation, and it is outside the scope of this beginner procedure.
When should thermal paste be replaced?
Do not replace paste on a fixed calendar if temperatures and noise remain normal. Reapply whenever the cooler is removed. Otherwise, investigate only when sustained temperature rises cannot be explained by dust, higher room temperature, changed power settings, a failing fan, or restricted case airflow.
Quick verification checklist
- Both contact surfaces are clean and dry.
- The protective film is removed.
- A small centered amount of paste is applied.
- The cooler is tightened evenly using the correct hardware.
- The fan or pump is connected and detected.
- Temperature is monitored during the first controlled load.
This procedure is intended for standard desktop CPU heat spreaders. Laptops, direct-die cooling, graphics cards, consoles, and liquid-metal applications require device-specific disassembly and safety guidance.