
Our Top Picks
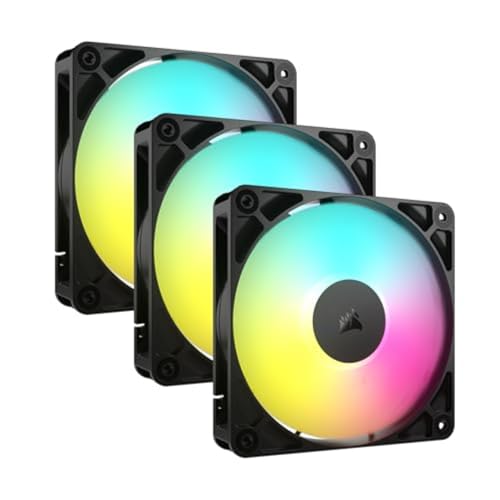

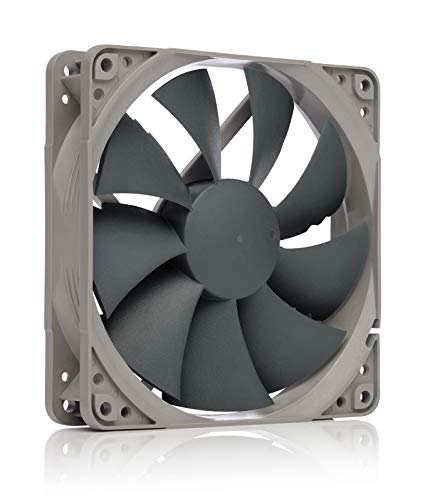
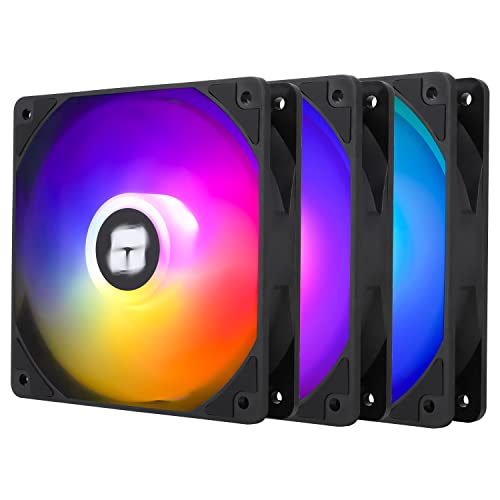
Top 3 picks at a glance
The Short Answer
For the vast majority of standard computer builds, two to three case fans are the ideal sweet spot. A configuration consisting of one or two front intake fans and one rear exhaust fan provides more than enough airflow to keep a standard 300-watt to 500-watt desktop system cool and stable. This setup creates a balanced pressure system that prevents heat pockets from forming around your processor and graphics card.
If you are assembling a high-performance gaming rig, a dedicated workstation, or a system that draws upwards of 600 watts of power, you will want to scale up to four to six case fans. In these demanding configurations, a triple-pack of intake fans at the front or side, paired with a dual-fan or triple-fan exhaust setup at the top and rear, ensures that hot air is purged before it can warm up your delicate silicon components. For budget-conscious builders, multi-packs of fans (ranging from $12 to $35 for packs of three to five) make it highly affordable to fully populate a chassis without overspending.
As an Amazon Associate we earn from qualifying purchases at no extra cost to you.


Standard Sizes
Before purchasing cooling hardware, you must understand the standardized dimensions used by chassis manufacturers. While some boutique or vintage cases use smaller proprietary mounts, modern consumer cases rely on a few universal sizes. The table below outlines the standard dimensions and average performance metrics you will encounter on the market.
| Fan Size (Nominal) | Width & Height (Inches) | Width & Height (Centimeters) | Standard Thickness (Inches) | Standard Thickness (Centimeters) | Typical Airflow Range (CFM) |
|---|---|---|---|---|---|
| 80 mm | 3.15 in | 8.0 cm | 0.98 in | 2.5 cm | 20 – 35 CFM |
| 120 mm | 4.72 in | 12.0 cm | 0.98 in | 2.5 cm | 40 – 75 CFM |
| 140 mm | 5.51 in | 14.0 cm | 0.98 in | 2.5 cm | 50 – 90 CFM |
| 200 mm | 7.87 in | 20.0 cm | 1.18 in | 3.0 cm | 100 – 150 CFM |
Note that while 25 mm (0.98 inches) is the industry standard thickness for case fans, “slim” profile fans exist at 15 mm (0.59 inches) to accommodate extremely tight builds, such as small form factor (SFF) cases or setups with thick liquid cooling radiators.
How to Measure Your Space
Never buy case fans based on visual estimation alone. To ensure your new fans fit perfectly inside your computer chassis, follow this step-by-step measuring guide.
- Consult Your Case Manual First: The fastest way to determine fan compatibility is to check your computer case’s specifications sheet. It will explicitly state the maximum fan quantities and sizes supported at the front, top, rear, and bottom panel mounts.
- Measure the Mounting Screw Spacing: If you do not have the manual, measure the distance between the existing screw holes on the chassis panel. Note that fan sizes are designated by their outer frame width, not the distance between screw holes. For example, a standard 120 mm fan has a screw hole spacing of exactly 105 mm (4.13 inches) center-to-center. A 140 mm fan has a screw spacing of 125 mm (4.92 inches).
- Check Component Clearance Depth: Measure the distance between your mounting panels and internal components like your motherboard heatsinks, RAM modules, and graphics card. Standard 25 mm thick fans require at least 30 mm of total clearance to prevent blades or frames from contacting cables or hardware.
- Verify Radiator Coexistence: If you are using an All-In-One (AIO) liquid CPU cooler, measure the combined thickness of the radiator and the fans. A standard radiator is roughly 27 mm thick; when paired with a 25 mm fan, you will need at least 52 mm of clear space at the top or front of your case to prevent collision with the top edge of your motherboard.
By Room or Use Case
Your physical environment, desk placement, and daily usage patterns dictate how many fans you need and how they should be configured to maintain a comfortable home environment.
The Quiet Home Office (Productivity & Creative Work)
In a quiet home office or study, distracting background noise is the enemy of focus. For machines dedicated to writing, web browsing, spreadsheet management, and light photo editing, a two-fan setup is optimal. By using two premium 120 mm fans (such as a single Noctua NF-P12 redux priced around $16), you can run them at incredibly low speeds—around 800 to 1,000 RPM. This keeps the ambient noise level of your workspace below 20 decibels, which is quieter than a soft whisper, while providing more than enough cooling for a system drawing under 250 watts of total power.
The Dedicated Gaming Room or Studio
Gaming PCs and rendering workstations generate substantial heat, often dumping 400 to 700 watts of thermal energy directly into your room. To prevent your system from throttling under load, you need a robust four to six fan configuration. Populating your case with budget-friendly high-performance multi-packs, like a Thermalright five-pack (priced around $19), allows you to move a massive volume of air at moderate speeds. This maintains a cool interior chassis temperature and prevents your graphics card fans from ramping up to their loudest, most irritating high-frequency settings.
Compact Living Spaces & HTPCs (Media Centers)
If your computer lives in a living room media console or a compact studio apartment, space and dust control are your primary concerns. For these small form factor (SFF) systems, you are often limited to one or two slim fans. Because these setups are frequently tucked inside wooden furniture compartments with restricted airflow, choose high-static-pressure fans. Ensure you set up a positive pressure configuration (more intake than exhaust) to force air through dust filters, preventing unsightly dust buildup on your living room furniture and inside the chassis.
The Showpiece Desk Setup (RGB Aesthetic)
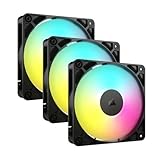
For setups where the computer is a central design element on top of a writing desk, visual symmetry and cable management are paramount. These builds often utilize six to nine fans to fill out panoramic dual-chamber cases. In these scenarios, choosing daisy-chainable ARGB fans, such as the Corsair RS120 ARGB triple pack (priced around $35), is highly recommended. These fans link directly together, reducing the rats-nest of cables behind your desk while allowing you to synchronize the lighting colors to match your office decor.
Common Sizing Mistakes
As we move into 2026, computer hardware continues to pack more power into smaller spaces, making thermal management critical. Avoid these common pitfalls when planning your fan layout:
- Mixing Up Intake and Exhaust Direction: Case fans are directional. Air almost always flows from the open, unobstructed side of the fan (the intake) toward the side with the plastic structural grille and motor cable (the exhaust). Installing all your fans as intake or all as exhaust will choke your system of fresh air.
- Overpopulating the Case: More is not always better. Installing nine fans in a mid-tower case that only houses a budget 65-watt processor and a low-power graphics card creates unnecessary noise, increases power consumption by up to 30 watts, and introduces dozens of unnecessary cables to manage.
- Ignoring Motherboard Header Limits: A standard motherboard fan header can safely supply 1 Amp of power (typically 12 Watts). While you can use splitters to connect multiple fans to a single header, connecting more than three standard fans to one port can permanently damage your motherboard’s circuitry. For large fan arrays, always use a dedicated, SATA-powered fan hub.
- Failing to Account for Dust Filters: If you install high-volume exhaust fans without matching intake fans covered by fine mesh filters, your case will pull dusty air through every open crack and PCIe slot, quickly coating your expensive internal components in a insulating layer of grime.
FAQ
Is 3 case fans enough for gaming?
Yes, three case fans are perfectly adequate for a standard gaming PC. Positioning two 120 mm fans at the front of the chassis as intakes and one 120 mm fan at the rear as an exhaust creates an efficient, directional wind tunnel that cools mainstream gaming hardware efficiently without excessive noise.
Should I get 120mm or 140mm fans?
If your computer case supports both sizes, always opt for 140 mm fans. Because of their larger blade surface area, 140 mm fans can move the same volume of air (measured in CFM) as 120 mm fans while spinning at a much lower rotational speed (RPM), resulting in a noticeably quieter computer setup.
How do I know if my fans are intake or exhaust?
You can identify the airflow direction by looking at the fan frame. The air flows toward the side of the fan that features the plastic structural support struts and the manufacturer’s electrical specifications label. Additionally, almost all modern fans have tiny arrows embossed on the outer plastic ring indicating both the direction of blade rotation and the direction of airflow.
Do more fans make my PC louder?
Not necessarily. In many cases, adding more fans can actually make your computer quieter. When you have only one or two fans, they must spin at their maximum speeds (often 1,800 to 2,000 RPM) to keep your components cool, creating a high-pitched whine. By installing four or five fans, you can run them all at a gentle, whisper-quiet 900 RPM while achieving the same—or better—cooling performance.









