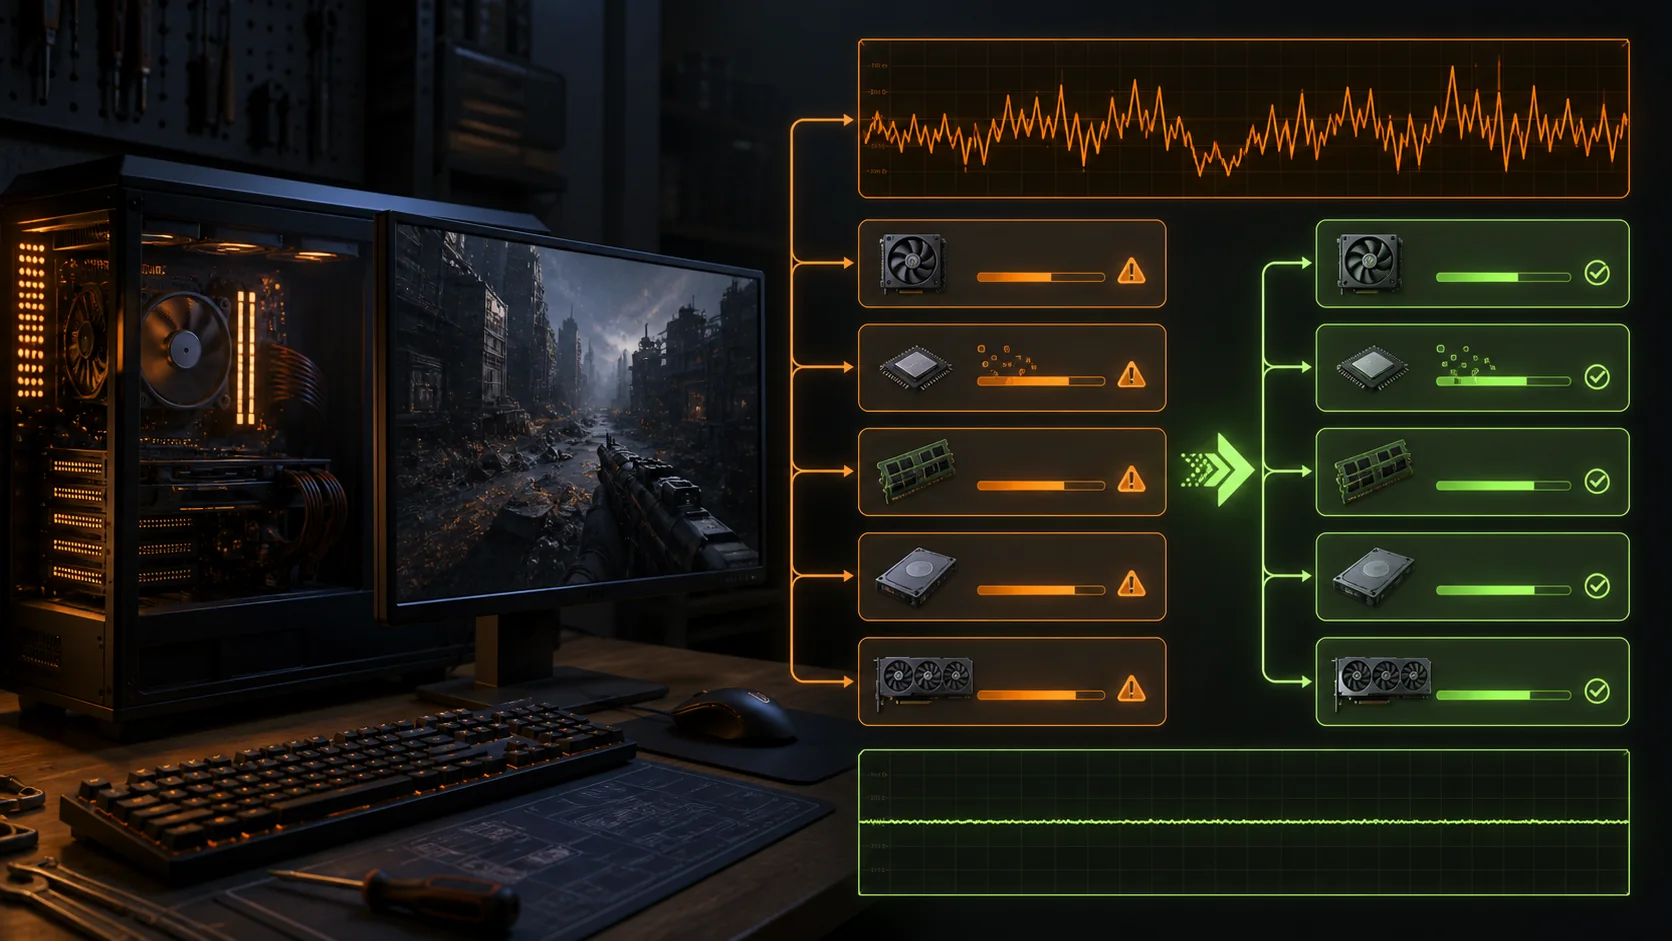
Optimizing Windows for gaming performance means removing background overhead the operating system accumulates over time — startup programs, unnecessary services, conservative power settings, and outdated drivers — so more of your CPU, GPU, and storage bandwidth goes to the game rather than idle processes. None of this replaces a hardware upgrade if your PC is genuinely underpowered for a game, but on most systems it recovers real, measurable frame time consistency that accumulates silently over months of use.
Top 3 picks at a glance
Quick answer
Start with the power plan and Game Mode settings since they take two minutes and have no downside, then work through startup programs, GPU driver settings, and storage health in that order. Each step below is independent, so you can stop after any of them and still see benefit — you don’t need to complete the whole checklist for it to be worthwhile.
As an Amazon Associate we earn from qualifying purchases at no extra cost to you. Product prices and availability are accurate as of the date shown and are subject to change.


| Change | Effort | Typical impact |
|---|---|---|
| Power plan / Game Mode | Low | Frame time consistency |
| Startup program cleanup | Low | Background CPU/RAM freed |
| GPU driver settings | Medium | Average FPS, latency |
| Storage health check | Medium | Load times, stutter |
Power plan and Game Mode
Windows ships with power plans that balance performance against energy use, and the default “Balanced” plan can throttle CPU clock speeds more aggressively than a dedicated desktop gaming PC needs. Switching to the High Performance plan, found in Windows’ power options settings, removes some of that conservatism, though it’s worth noting the gain is usually more consistent frame pacing than a large average FPS jump.
Windows’ built-in Game Mode, toggled from the Gaming section of Settings, tells the system to prioritize the foreground game for CPU and GPU scheduling and reduce background activity like Windows Update downloads while playing. It’s enabled by default on most installs, but it’s worth confirming it’s still on, since some third-party utilities or a Windows update can occasionally flip it off.
Laptops benefit even more from this step than desktops, since laptop power plans are tuned more aggressively for battery life by default. Plugging in and confirming the plan matches your expectations before a gaming session avoids leaving performance on the table unintentionally.
If Game Mode itself is misbehaving rather than helping, our dedicated guide on fixing Game Bar and Game Mode issues covers the more stubborn cases where the toggle doesn’t stick or the overlay won’t open.
A reasonable way to confirm the power plan change actually took effect: check your CPU’s reported clock speed at idle and under light desktop use through Task Manager’s Performance tab immediately after switching, since a system stuck on an aggressive power-saving plan often shows a CPU parked well below its base clock even during normal use, while High Performance typically keeps clocks closer to base speed even when mostly idle.
Trimming startup programs and background services
Every application that sets itself to launch at startup consumes some CPU and RAM before you’ve opened a single game, and this accumulates as you install more software over months or years. Task Manager’s Startup Apps tab lists everything configured to launch automatically along with Windows’ own estimate of each one’s impact, making it straightforward to spot obvious offenders like chat clients, launcher auto-starts, or cloud sync tools you don’t need running constantly.
Disabling a startup entry through Task Manager doesn’t uninstall the program, it just stops it from launching automatically, so this is a low-risk change you can reverse instantly if something you actually wanted turns out to be missing. Be cautious with anything related to audio drivers, antivirus, or hardware vendor utilities (GPU or motherboard software) since those sometimes need to be running for their features to work correctly.
Background services are a deeper layer than startup apps and carry more risk if disabled incorrectly, since some are required by Windows itself or by drivers. Unless you have a specific, identified service causing a problem, it’s safer to focus your effort on startup apps and browser extensions rather than digging into the services list.
Browser tabs and chat overlays left running in the background are an easy one to forget — a browser with dozens of tabs open can hold onto a surprising amount of RAM, and closing it before a demanding session is a simple, reversible check.
On a typical multi-year-old Windows install, it’s not unusual to find ten or more startup entries that accumulated from software installed for a one-time task and never removed from the startup list afterward — going through this list once every few months rather than only at initial setup catches this kind of slow accumulation before it becomes a noticeable drag on boot time and background resource use.
Keeping GPU drivers current without breaking things
Outdated GPU drivers are one of the more common, and more overlooked, sources of lost performance, since new driver releases frequently include game-specific optimizations alongside general stability fixes. The safest update path is downloading directly from NVIDIA’s or AMD’s official site rather than relying solely on Windows Update, which can lag behind the vendor’s own release schedule.
A clean driver install, rather than installing a new version directly over an old one, avoids the rare but real problem of leftover configuration files from a previous driver causing instability. Our guide on updating graphics drivers safely walks through this process, including when to use Display Driver Uninstaller (DDU) for a fully clean slate.
Both NVIDIA’s and AMD’s driver control panels include performance-related settings — things like power management mode and texture filtering quality — that are worth reviewing after a fresh install, since default values are sometimes set for broad compatibility rather than maximum gaming performance. The exact layout of these panels changes between driver versions, so rather than following a specific menu path, look for the sections covering 3D or gaming settings within your installed control panel and review what’s set to “application controlled” versus a fixed value.
If a specific game refuses to detect your GPU correctly after a driver change, that’s a distinct problem covered in our guide to fixing GPU not detected issues rather than a general optimization step.
Driver-related performance gains vary a lot by generation and game — a driver release timed to a major new title’s launch can occasionally show a double-digit percentage improvement in that specific game, while a routine incremental update on an already-current driver more commonly shows low single-digit gains or none at all in most titles. Don’t expect every update to move the needle noticeably; the value is cumulative and stability-focused more often than it’s a guaranteed frame-rate jump.
Storage health and its effect on stutter
A nearly full drive, especially the one Windows and your games are installed on, can cause stutter and longer load times because the file system has less contiguous free space to work with efficiently. Keeping at least 10-15% free space on your primary game drive is a reasonable target, though the exact number that matters varies by drive size and file system.
SSD health matters more than most players expect for gaming performance specifically — a drive nearing the end of its write endurance or one with a failing controller can introduce stutter that looks like a CPU or GPU problem at first. CrystalDiskInfo is a widely used free tool for checking drive health indicators like reallocated sectors and overall drive status without needing to interpret raw SMART data manually.
If you’re running games from a traditional hard drive rather than an SSD, load times and texture streaming stutter are largely a hardware limitation rather than something software optimization can fully resolve — our guide on SSD cloning tools covers migrating an existing Windows install to faster storage without a fresh reinstall.
Fragmentation is largely a non-issue on SSDs, which don’t suffer the same mechanical seek penalty as hard drives, so running a defragmentation tool on an SSD provides little to no benefit and isn’t a step worth prioritizing on modern gaming PCs.
A concrete way to check whether storage is contributing to stutter you’re seeing: watch disk queue length or active time in Task Manager’s Performance tab (Disk section) during a stutter-prone moment in a game — sustained high active time percentage or a queue that doesn’t clear quickly points toward storage as a contributing factor, while a disk sitting mostly idle during the same stutter points you back toward CPU, GPU, or driver causes instead.
Windows Update and background maintenance timing
Windows Update can trigger CPU and network usage spikes at inconvenient times, including mid-game if a download or install completes while you’re playing. Game Mode reduces some of this interference automatically, but scheduling active hours in Windows Update settings to cover your typical play sessions gives an additional layer of control over when updates are allowed to install.
Background maintenance tasks like disk optimization schedules and Windows Search indexing rebuild themselves periodically and can compete for storage and CPU resources during a session, particularly right after installing a large new game that needs indexing. This is usually short-lived and self-resolves, but if you notice stutter specifically in the hours after a big install, it’s worth considering as a cause before assuming a hardware or driver issue.
None of this maintenance should be disabled entirely — Windows Update in particular carries security patches that matter — the goal here is scheduling around it rather than turning it off.
Monitoring whether your changes actually helped
Without measuring before and after, it’s easy to convince yourself a change helped when frame rate variance from session to session was the real cause. A monitoring overlay like the one built into MSI Afterburner, paired with its RivaTuner Statistics Server component, shows real-time FPS, frame time, and hardware utilization so you can compare sessions with actual numbers rather than impressions.
Pay attention to 1% low frame rates alongside average FPS, since many of the changes in this guide — power plan, background app cleanup — tend to smooth out the worst dips more than they raise the average, and 1% lows are what most players actually perceive as “stutter.”
Running the same benchmark or the same section of a game before and after each change, rather than changing several things at once, makes it much easier to identify which specific step actually mattered on your system, since not every tip here will move the needle equally on every PC.
Expect individual changes from this checklist to be modest on their own — a few percent here, a smoother 1% low there — rather than one dramatic jump, since most of what’s covered addresses accumulated overhead rather than a single major bottleneck. The combined effect of working through the whole list is more noticeable than any single step, which is worth keeping in mind if an individual change doesn’t feel like it did much in isolation.
When Windows optimization won’t fix your real problem
If a game is consistently unplayable rather than just inconsistent, the cause is more likely a genuine hardware bottleneck, an outdated or damaged Windows installation, or a game-specific bug than something a settings pass can resolve. Check whether the game’s minimum or recommended specifications actually match your hardware before spending more time tuning software.
Thermal throttling is a common one that looks like a software performance problem but isn’t — a CPU or GPU running hot enough to throttle its clock speed will show frame drops that no amount of Windows tuning fixes, since the hardware itself is deliberately slowing down to avoid damage. Our guide on fixing PC overheating covers diagnosing this properly.
If performance dropped suddenly rather than gradually, suspect a specific recent change — a Windows update, a new driver, or newly installed background software — rather than working through this entire general checklist from scratch. Isolating what changed recently is usually faster than a full optimization pass.
Troubleshooting after optimization changes
Performance got worse after switching to High Performance power plan: this is uncommon but can happen on laptops if it pushes thermal throttling harder than the Balanced plan did. Reverting to Balanced or a custom plan with adjusted cooling behavior resolves it.
A disabled startup program broke a feature you needed: re-enable it from the same Task Manager Startup Apps tab where you disabled it — the change isn’t permanent and takes effect on the next restart.
Game Mode toggle won’t stay on: this sometimes traces back to Windows Update resetting Gaming settings, or a conflicting third-party optimization tool overriding it. Check that no other “game booster” software is fighting with Windows’ own setting.
Driver update caused new stutter instead of fixing it: roll back to the previous driver version through Device Manager, or use DDU to fully remove the new driver and do a clean reinstall of the version that worked before.
Frame rate monitoring overlay itself is causing stutter: this is rare but possible on lower-end systems, since the overlay consumes a small amount of resources itself. Test with the overlay off for a session if you suspect this, particularly on integrated graphics or entry-level GPUs.
Frequently asked questions
Will these changes actually improve my FPS, or just my system’s responsiveness?
Both, but to different degrees. Power plan and background app changes tend to help frame time consistency and 1% lows more than average FPS, while driver and storage fixes can meaningfully affect both average and minimum frame rates depending on what was wrong beforehand.
Do I need third-party optimization software to get these benefits?
No. Everything covered here uses settings built into Windows or free tools from Microsoft and hardware vendors. Third-party “gaming booster” tools often just toggle the same built-in settings while adding their own background processes, which can offset any gains.
How often should I redo this optimization pass?
A quick check after major Windows updates is worth it, since updates occasionally reset power plans or re-enable background services. Otherwise, revisiting every few months or when you notice performance has drifted is enough for most people.
Can over-optimizing Windows cause problems?
Yes, particularly with startup app and service changes — disabling something you actually need (like your audio driver’s control service or antivirus) can cause more problems than the small FPS gain is worth. Change one category at a time and confirm nothing broke before moving to the next.
Does a fresh Windows install perform better than an optimized existing one?
Often, since a fresh install starts without accumulated startup programs and background services, but it’s a bigger time investment than targeted optimization. Most performance gains from a fresh install can be recovered by working through this same checklist on your existing install.